
At Doctor Glass they have fitted many sets of race fairings, including their own and other manufacturer’s products. Over the years they say they have come across a variety of different problems and solutions.
In this fitment guide we cover the main points of properly fitting fairings, in what order to tackle the job, as well as showing you some of the tricks used to do a good job and help you get around some of the problems that can arise when fitting aftermarket race fairings to your bike.
Check out our other tech tips here…
Firstly, there is a proper order to things. You’ll want to fit the fairings before you paint them, then take them off to be painted. It takes us around four hours in the shop with all the tools and know-how, so allow yourself six hours or more to finish the job. Make sure you have the bike clean and set up on stands or a workbench with plenty of room to move around.
You will need the correct tools. A compressor and a die grinder is a must for cleaning up rough areas and drilling holes. Some sand paper – 180 dry for rubbing down moulding seams and 320 dry for cleaning up edges and finishing off for paint (keep in mind that your spray painter will be able to take care of most of this when prepping). Plus all the usual workshop tools. Make sure all drill bits are sharp and ready for use!
When fitting race fairings you need to be patient. Sometimes you’ll find bolt marks that don’t line up. Often it’s simply a matter of taking a quick breather then getting back into it and you’ll find it will be something simple like the fairing not mounted correctly.
Sometimes the fairings may have warped a little during shipping, this is not a problem, it’s just a matter of bending them back into shape and fitting them to the bike in the correct position. Once the bike has been through a couple of heat cycles the fairings will re-set to that position.
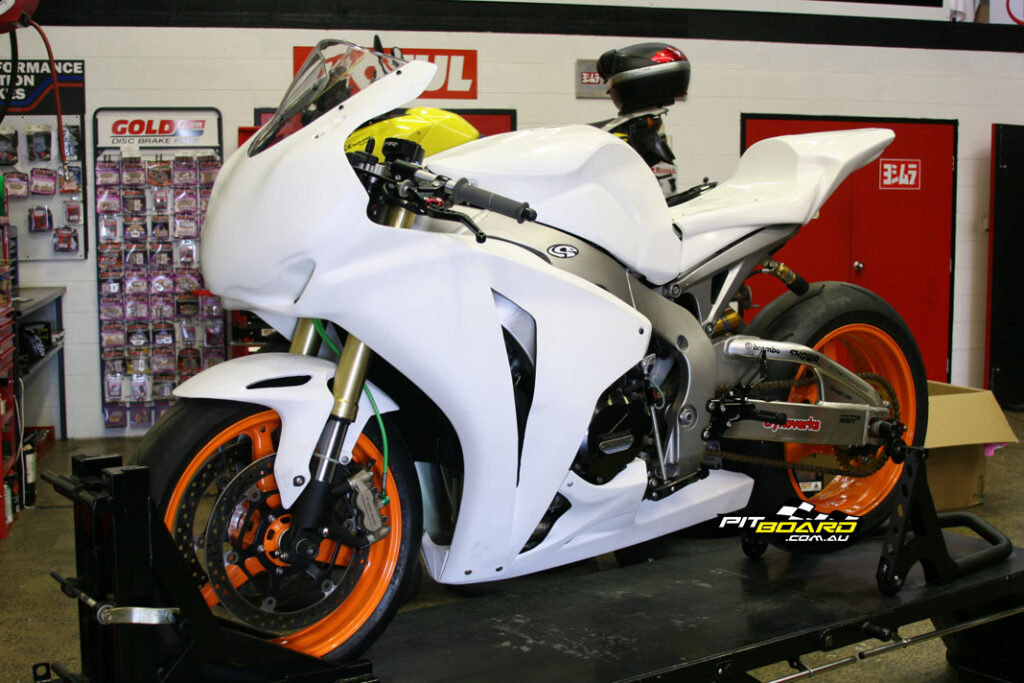
You need to keep in mind that race fairings do not fit as well as factory plastics, so you may find areas where there are small inconsistencies. This is quite normal and not usually noticeable once the paint and stickers are on. If you check out other race bikes at the track you’ll be surprised how good they look from a distance but upon closer inspection the fibreglass fairings rarely look as neat as street fairings.
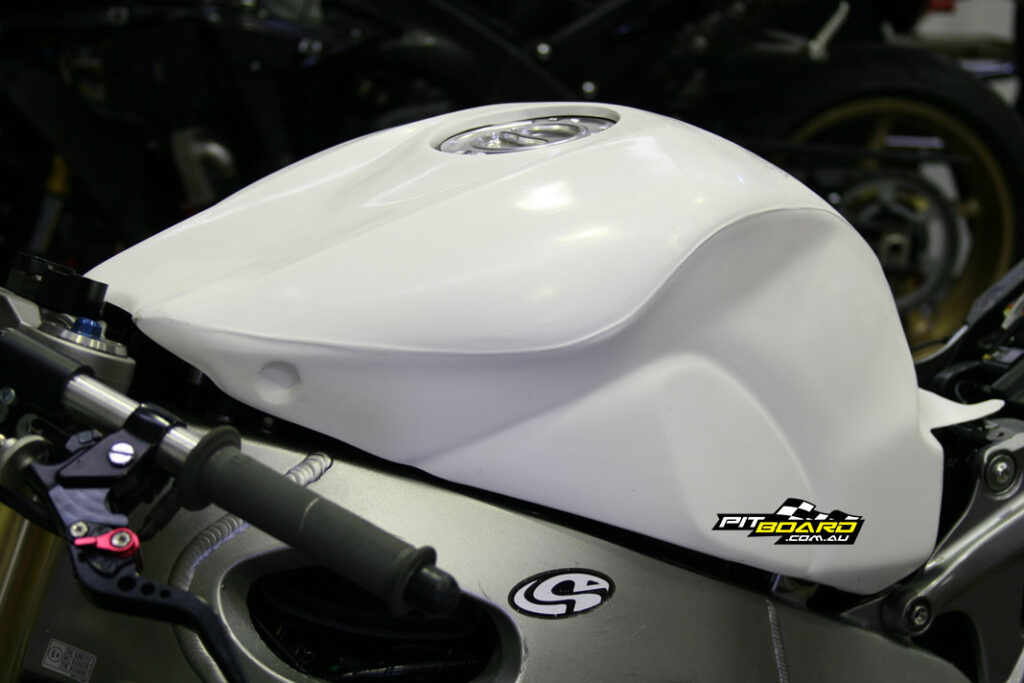
Start with the tank cover (if you have one), then seat support, ducktail, ducktail lower, upper fairing, lower fairing and finally the windscreen. You will need to be prepared to remove and refit panels a number of times to confirm correct fitting – be patient!
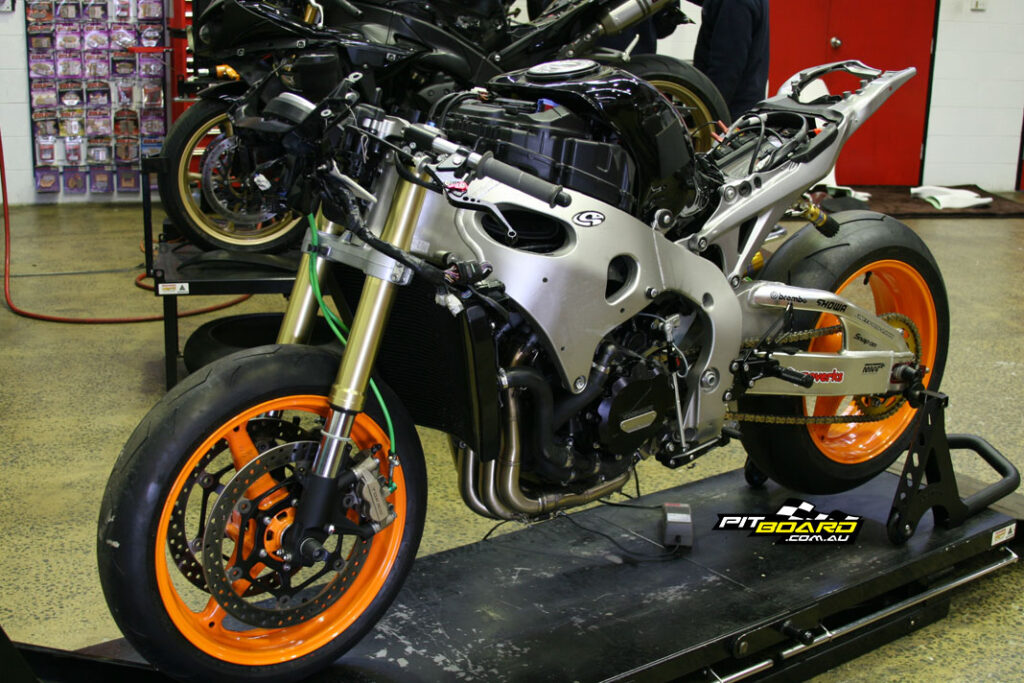
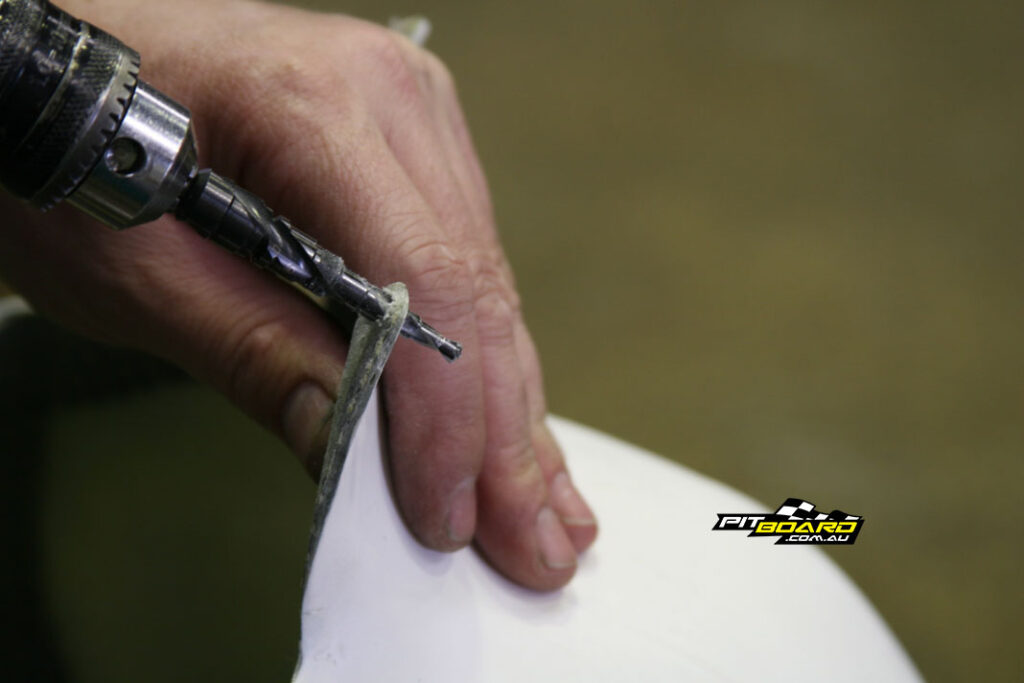
You will need to use the original factory bolts to mount the fairing to the frame of the bike. Taper bolts allow you to make accurate marks in fairing panels so you know where to drill. Keep in mind that sometimes mounting points on bikes will be not perfectly aligned. If your bike has been in any kind of crash, it will be likely that things such as the subframe, radiator or other mount points will be not exactly aligned. If this is the case then you may need to straighten them before fitting the glass.
Sometimes you may need to grind areas off the fairing so that they fit around corners/over edges or if there are parts on the fairing that you do not require. If this is the case do not panic! Fibreglass is very easy to work with and can be easily shaped using a die grinder, electric grinder or even a hand file. If you need to remove a section of panel, simply mark what you need to remove with a marker pen and grind off the area. Finish the ground edge off with some sandpaper.
When fitting upper and lower fairings, sometimes you will find that a mount point will not line up exactly to the area on the fairing that has the recess to mark where the hole should be drilled. If this happens do not panic! Sometimes previous accidents can cause alignments to go out but it is not a problem. You can simply drill the hole in the appropriate position or you may need to space the fairing out a little from the frame with some spacers.
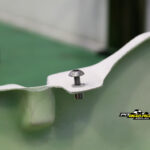
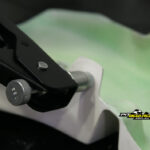
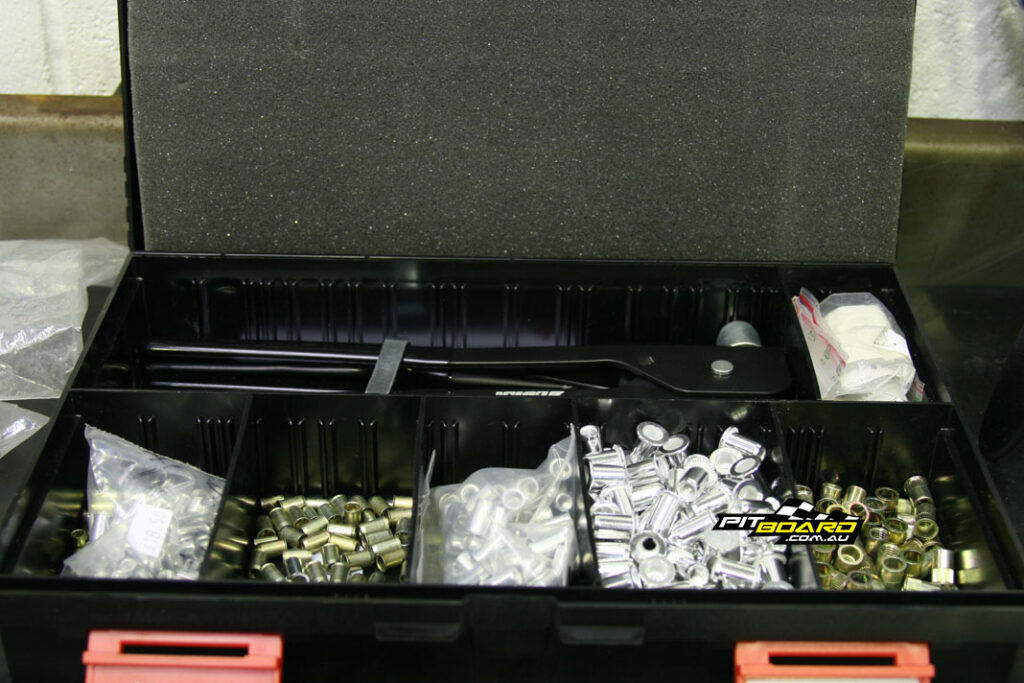
Dzus Fasteners are great for connecting upper and lower fairings; however you need to be careful. Dzus Fasteners come in different shaft lengths and you’ll need the correct length for them to work properly. The Dzus Fasteners supplied with Doctor Glass fairing kits have 10mm shafts and are suitable for most applications so long as the fibreglass being connected is not too thick.
If the glass is too thick, such as in situations where carbon bordering has been chosen as an option, you may need to sand or grind the contact points between the fairings so that they reach the correct thickness for the Dzus Fastener to function correctly. Rivnuts also work as an excellent replacement for Dzus Fasteners if available.
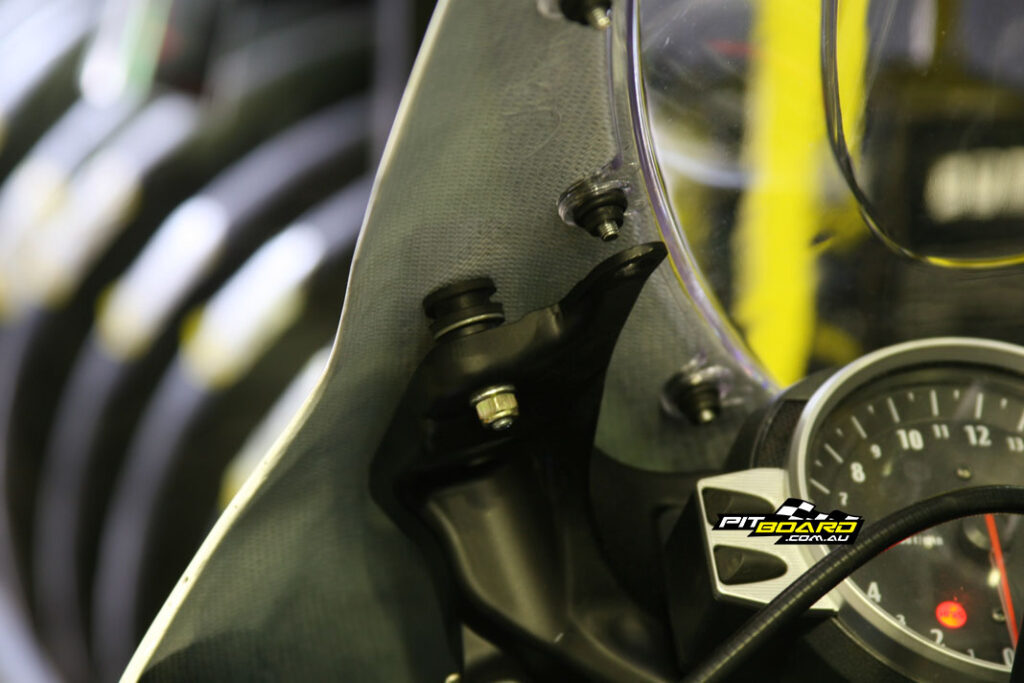
When mounting the windscreen for the first time it’s best to do so with the upper fairing off the bike. Get someone to hold the screen in position then mark any holes in the fairing or screen that need to be drilled. Some windscreens come pre-drilled but sometimes you will need to drill yourself. If you need to drill holes in the screen make sure you put tape over the area first (both sides), then use the drill in reverse at a very high speed. Don’t push too hard or you’ll crack the Perspex.
Another point that is worth making is that it’s important to try to keep contaminants such as oil, grease and especially silicon off the unpainted fairings as this will make them much harder to paint.

There you have it! It might sound like a big job but if you take your time, measure twice and only cut once it’ll fit great. Then its off to the painters for your fairing and you’ll have a great looking track bike in no time!
Words and Photography: Doctor Glass
