
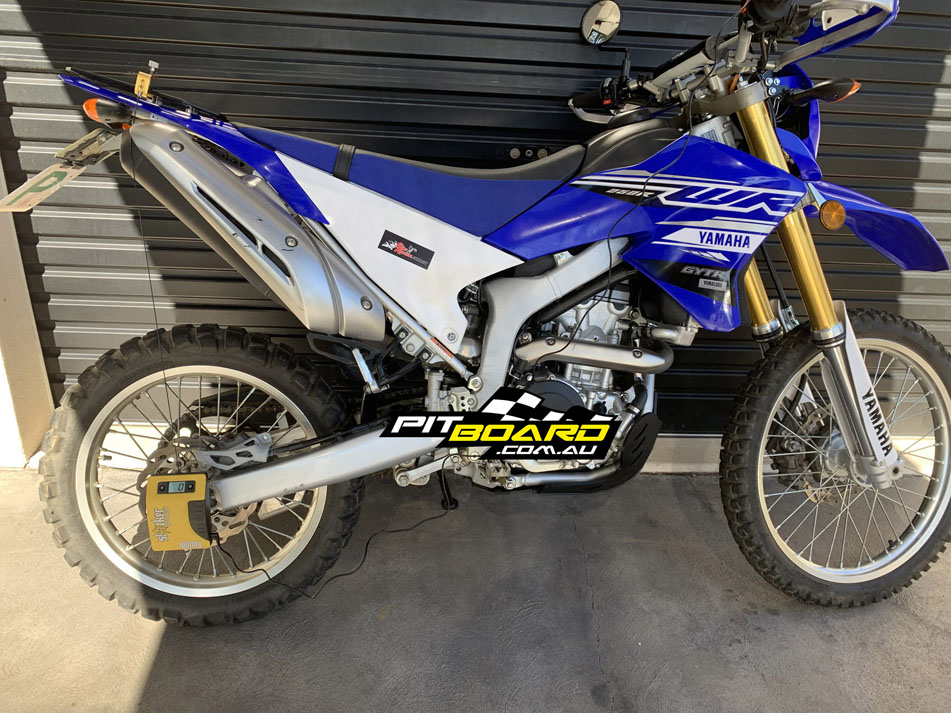
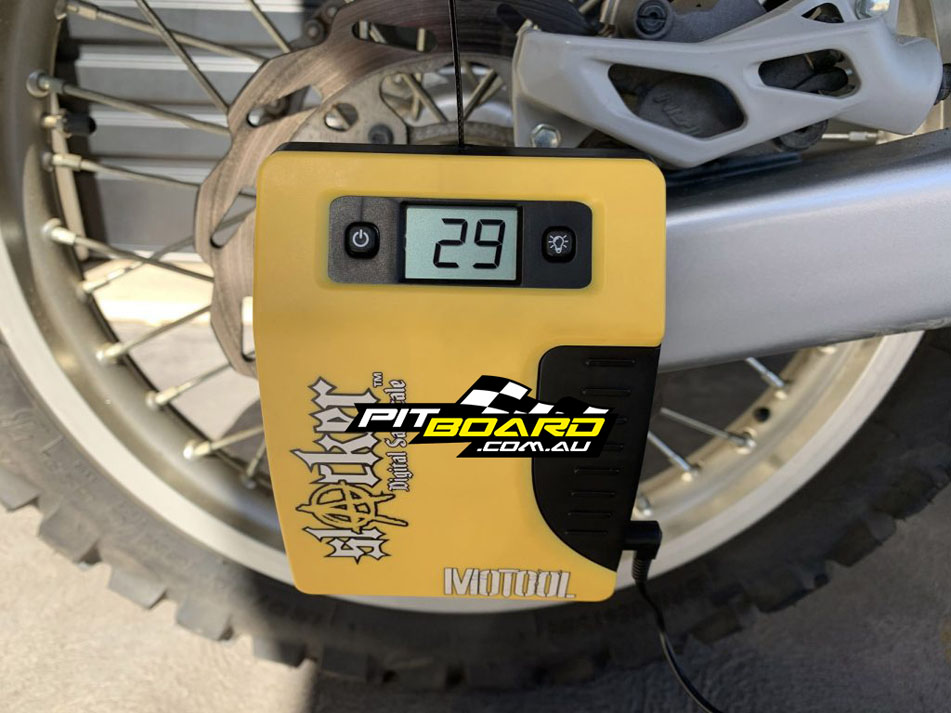
We’ve been using the Motool Slacker Auto Zero sag measurement tool from Pro Accessories for years now, setting up our own bikes and press bikes. The most recent bike we used it on was Mike’s WR250R, which is a 2020 model with stock suspension used as a commuter and a weekend off-roader.
The great thing about the Slacker is that it makes a job that previously required two people easily achieved on your own as it does all of the measuring and calculations for you accurately and quickly.
Normally, when adjusting sag, you first need to measure full extension, then static distance from the floor, then subtract that from the extended distance to give static sag. You then need to repeat that sitting on the bike in the riding position, repeating it twice for both ends. To do that, you need a helper to do the measuring while you handle the bike. With the Slacker, you can do it all alone very quickly.

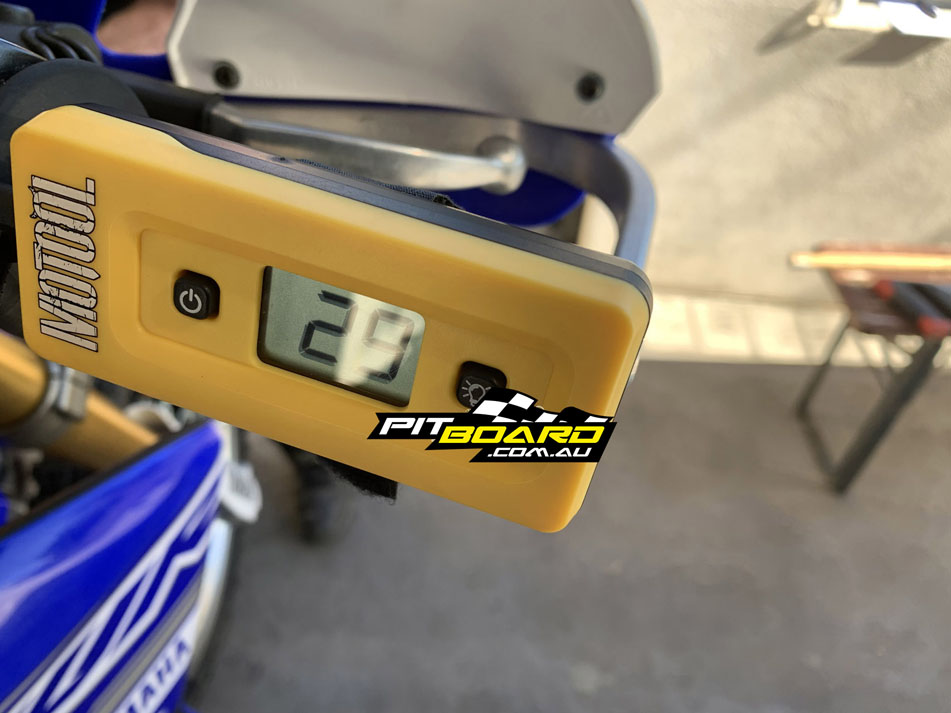
Once you have the Slacker string connected, hook up the handlebar mounted display so you can easily do the job on your own. This simply plugs into the Slacker with the lead provided and attaches to the handlebars via a velcro strap. Makes life a lot easier when trying to read the results.
The remote display has the same functions as the Slacker so everything can be controlled now from the handlebar. Lift on the bars and fully extend the forks, then zero the slacker.
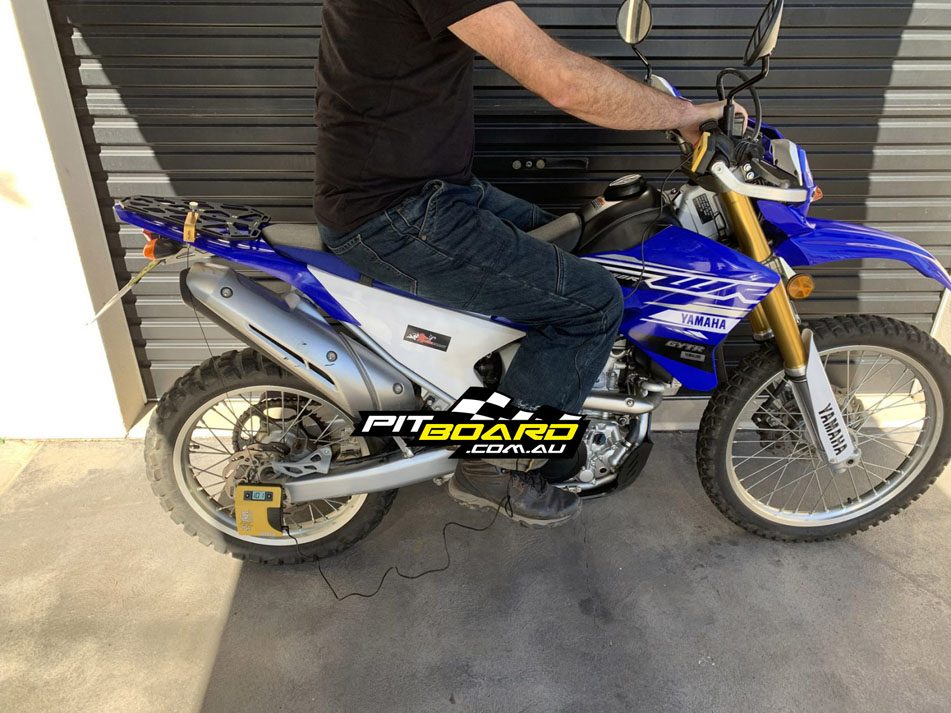
Once sorted, it is time to stand alongside the bike holding it upright. Holding the front brake, bounce the front-end up and down five times to loosen and seal stiction on the fork inner tube and to help the forks settle. Release the brake and give the forks one more bounce with no brakes.
You will now have a reading on the display showing the static sag (unloaded) of the front of the bike for your records, the WR was 49mm. Next, sit on the bike in your normal riding position. Again, bounce the forks up and down, then when they settle, you will have the sag amount displayed on the remote display. Repeat this a few times until you get a consistent reading. The WR was 79mm.
If your bike has preload adjustment, this is the point where you can repeat steps until the correct sag is achieved, either adding or removing spring preload. Sometimes compression damping adjustment can help to set sag as well as preload but you don’t want to be riding on compression rather than spring, so it is generally best to set spring sag with the comp and rebound backed completely off.
With the WR, we ended up with compression at 9/21clicks, rebound at 11/29 clicks and a sag with rider of 79mm. With no spring preload adjustment, we can’t do anything else but those numbers are fine for now as Mike is still a relatively new off road rider.
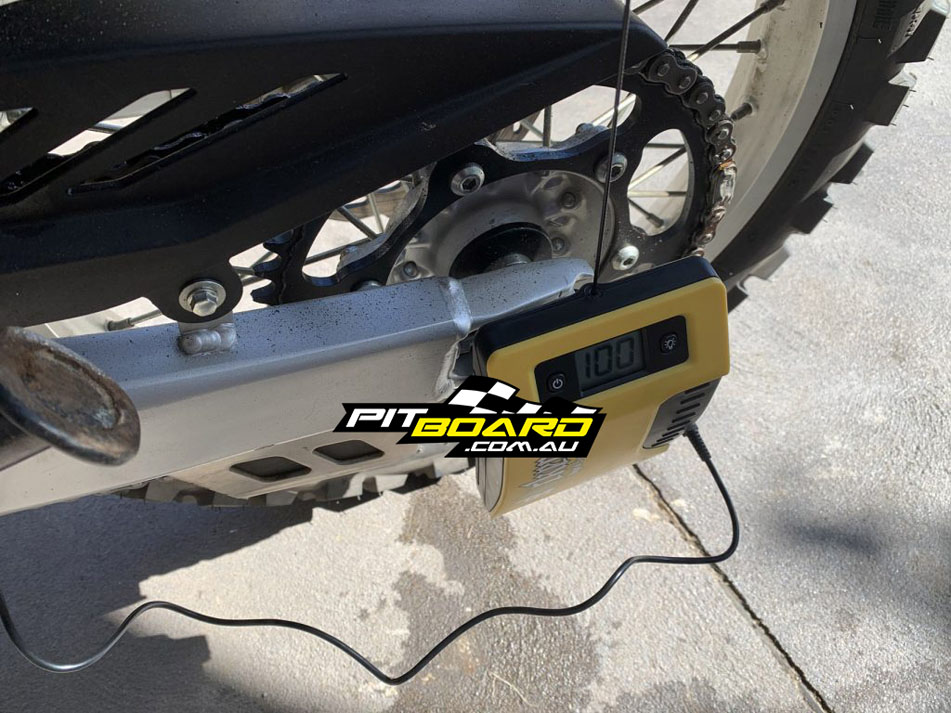
Once you have set the front up, it is time to move the Slacker unit to the back of the bike. Fit another stick on hook somewhere in a straight line of travel above the rear axle, move the magnetised Slacker to the back axle and connect the string/cable. You can leave the remote display on the handlebar as the cable is very long, which is convenient. Kneeling alongside the right hand side of the bike, push up under the seat area to fully extend the rear suspension, or stand alongside it and lift the rear, then zero the Slacker using the buttons on either the main unit or the remote unit.
Now walk around to the left side, take the bike off the stand and bounce the rear up and down five times then let it settle. You will now have a static sag figure for your records. In this case, 40mm.
Sitting on the bike now, bounce the back up and down with your weight then sit in your usual spot. Try not to take any weight through your legs, which will be on the ground only for balance. If you are alone this will be the best you can do and will be fine, maybe rest an elbow on the wall to stay upright.
You will now have your rear rider sag figure, in this case for the WR, 108mm. We are aiming for 100mm. So we increase rear spring preload to 12mm (three turns on the collar). We do this one turn at a time, checking sags each time. Now the WR250R has 100mm rider sag at the rear and exactly 30mm static, which is spot on with 80kg Mike on it and he is the only person riding the bike. We also set the rear rebound to 8 clicks out and the rear compression to 8 clicks out.

So using the Slacker is so easy compared the old fashioned mate with a tape measure way. You can quickly and easily do this by yourself and the entire process took us around 15-minutes start to finish.
The Slacker is easy to use, comes with a range of connections and is available for $199.95 RRP (Street kit an extra $39.95 RRP) in all good bike shops via the national distributor Pro Accessories, you can check out the Pro Accessories website here.
